

How to Create a Calendar in Excel Template: A Step-by-Step Guide


Setting Up Your Excel Calendar Template
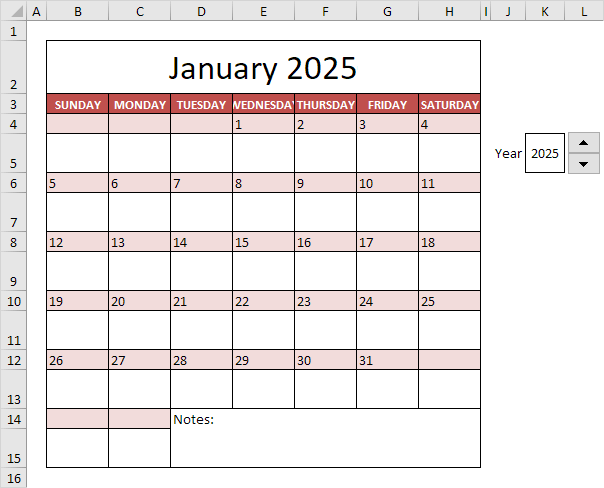
Creating a calendar in Excel can be a useful tool for organizing your schedule, appointments, and important dates. With a few simple steps, you can create a customizable calendar template that suits your needs. To start, open a new Excel spreadsheet and set up a table with the days of the week and the dates. You can use formulas to automatically fill in the dates, making it easy to create a calendar for any month or year.
One of the benefits of using an Excel calendar template is that it can be easily customized to fit your specific needs. You can add or remove columns and rows as needed, and use formulas to calculate important dates such as holidays or deadlines. Additionally, you can use Excel's built-in formatting tools to change the appearance of your calendar, making it easy to read and understand.
Customizing Your Excel Calendar
Setting Up Your Excel Calendar Template. To set up your Excel calendar template, start by creating a table with the days of the week and the dates. Use formulas to automatically fill in the dates, and add any additional columns or rows as needed. You can also use Excel's built-in calendar template to get started, which can be found in the 'Templates' section of the Excel website.
Customizing Your Excel Calendar. Once you have set up your Excel calendar template, you can customize it to fit your specific needs. Use Excel's formatting tools to change the appearance of your calendar, and add or remove columns and rows as needed. You can also use formulas to calculate important dates, such as holidays or deadlines. With a little practice, you can create a customizable Excel calendar template that makes it easy to stay organized and on top of your schedule.