

How to Create a Calendar in Microsoft Word


Step-by-Step Instructions
Creating a calendar in Microsoft Word is a straightforward process that can be completed in a few simple steps. Whether you need a calendar for personal or professional use, Microsoft Word provides the tools and flexibility to create a customizable calendar that meets your needs. To get started, open Microsoft Word and select a new document. From there, you can choose from a variety of calendar templates or start from scratch and create your own.
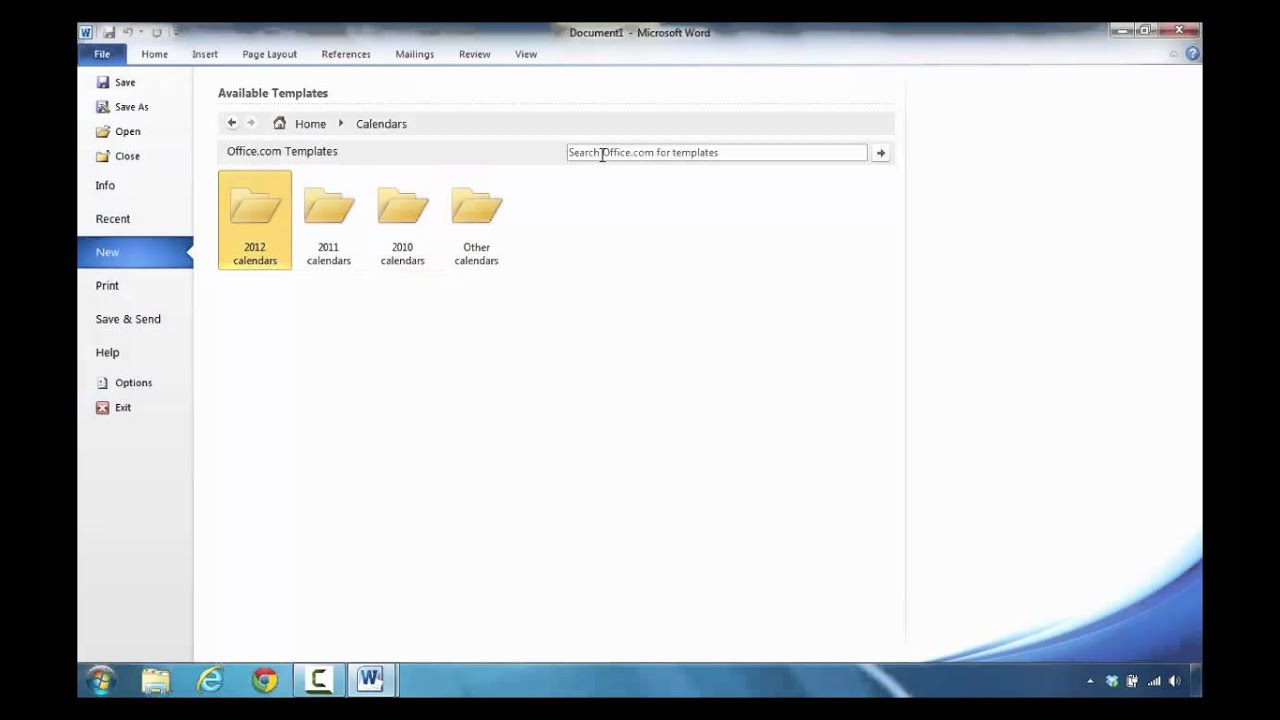
To create a calendar from a template, click on the 'File' tab and select 'New.' Then, type 'calendar' in the search box and press enter. This will bring up a variety of calendar templates that you can choose from. Select the one that best fits your needs and click 'Create.' If you prefer to create your own calendar from scratch, you can do so by using the 'Table' tool to create a grid and then filling in the dates and other information as needed.
Customizing Your Calendar
Once you have selected a template or created your own calendar grid, you can begin customizing your calendar. Start by filling in the dates and other information, such as holidays and important events. You can also add images, colors, and other design elements to make your calendar more visually appealing. If you need to make any changes to the layout or design of your calendar, you can do so by using the various tools and features available in Microsoft Word.
With your calendar created and customized, you can now print it out or save it to your computer. You can also share it with others by emailing it or posting it online. Whether you need a calendar for personal or professional use, Microsoft Word provides the tools and flexibility to create a customizable calendar that meets your needs. By following these simple steps, you can create a calendar in Microsoft Word that is both functional and visually appealing.